MUC-OFF KIT TUBELESS SETUP ULTIMATE DH/TRAIL/ENDURO
By MUC OFF
SKU: MUC-OFF-KIT-TUBELESS-SETUP-ULTIMATE-DH/TRAIL/ENDURO
Inclusive of all taxes
- View Shipping Details
Know more about this product
Why should i buy this?
Discover this product's exceptional qualities before buying.
Compare with other product
Comparing this product to any others that are comparable.
Get most popular reviews
Find product reviews for a better experience.
Where I can use this?
Understand the usability of the product.
View MoreDimensions and Weight
Unit
NOS
Description
Description
A kit complete with every essential needed to join the tubeless revolution. Five different kits for all kinds of bikes. Our Ultimate Tubeless Setup Kit is a one-stop shop for everything you need to make the switch with your tubeless-ready wheelset.
SEE IT IN ACTION
Going tubeless? Our Ultimate Tubeless Setup Kit is a one-stop-shop for everything you'll need to make the switch. Just make sure you've got tubeless-ready wheels and tyres
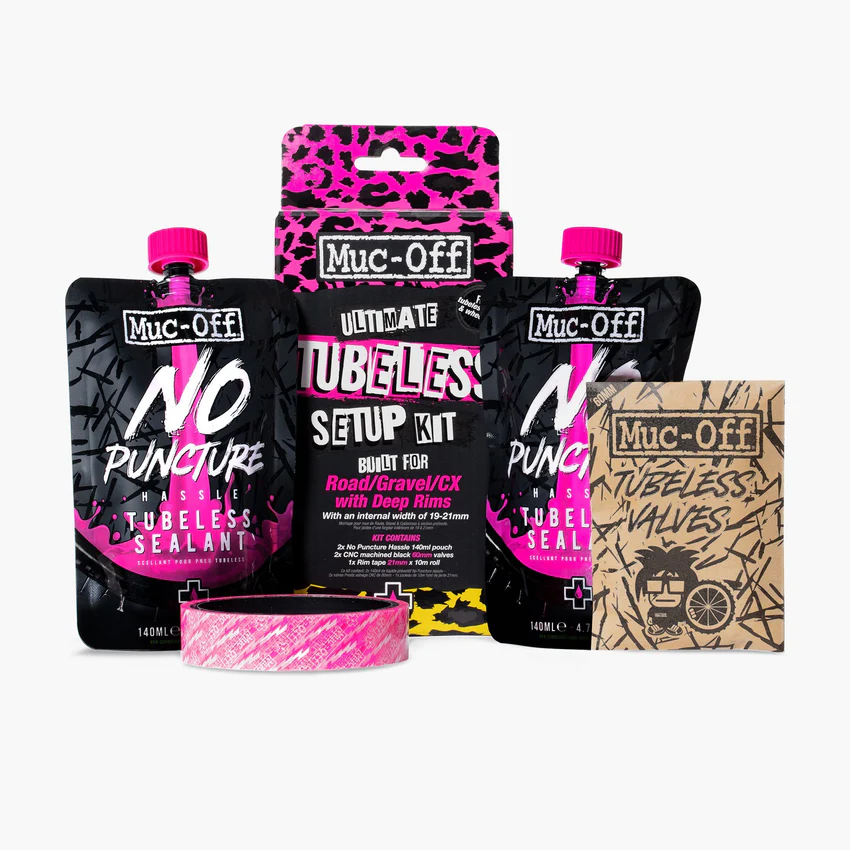
The Muc-Off Ultimate Tubeless Kit contains everything needed to get a tubeless-ready wheelset set up and ready to roll. Each Kit contains a Muc-Off Tubeless Rim Tape, Seal Patches, 2 CNC-machined black tubeless Valves and 2 pouches of No Puncture Hassle Tubeless Sealant.
Features
- Everything you need in one simple kit
- Say goodbye to carrying spare tubes!
- Check our how-to featuring the Deakinator
EVERYTHING NEEDED TO GET SET UP AND READY TO ROLL
Our Ultimate Tubeless Setup Kit is a one-stop shop for everything you need to make the switch with your tubeless-ready wheelset.
WIDE RANGE OF SIZES AVAILABLE
Kits available for road, gravel and CX to enduro, trail and downhill.
How to
- Remove all old rim strips or tape and clean the rim.
- Make sure the rim is clean and dry before applying the tape.
- Get the tape from the packet and line it up from the opposite side of the valve.
- Start by unwinding a small amount of the tape and pressing it down using your thumb or finger to hold pressure down.
- Continue to hold while you pull back on the tape and stick down tight once you have a few cm on the tape will stick and holding is no longer needed.
- Continue the entire way around the rim (if it has a big concave in you can pull and wiggle the tape to fill any edges)
- Overlap the tape by roughly 10 – 15cm
- Leave a small amount unstuck so that you can cut the remainder off
- Once cut sketch and pull the tape down to create a seal
- Go around the rim with your thumb to make sure there are no air pockets or messed areas.
- Once you are happy with how it looks using a small pin locate the valve hole and cleanly pierce the tape ready for the valve
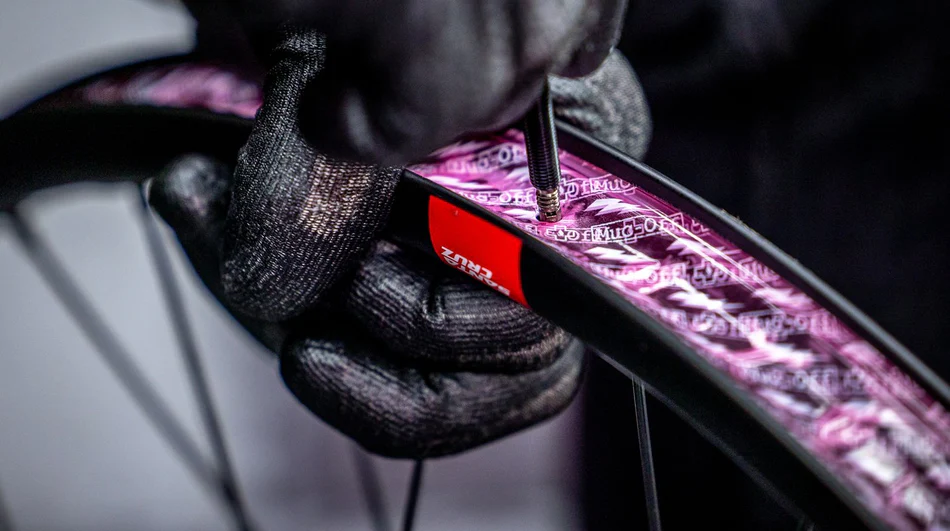
- Grab your tubeless valve and remove the lock ring and o ring
- Chose the right rubber fitment for your rim tape and insert the valve into the rim
- Refit O-ring and Lockring making sure you lock the valve in (don’t go too tight or could damage the rubber)
- Re-fit your tire of choice careful not to damage the tape (by using tire levers etc)
- Inflate tire to create a fit (should hear some popping around the rim)
- Release Air and remove valve core using the spare valve cap
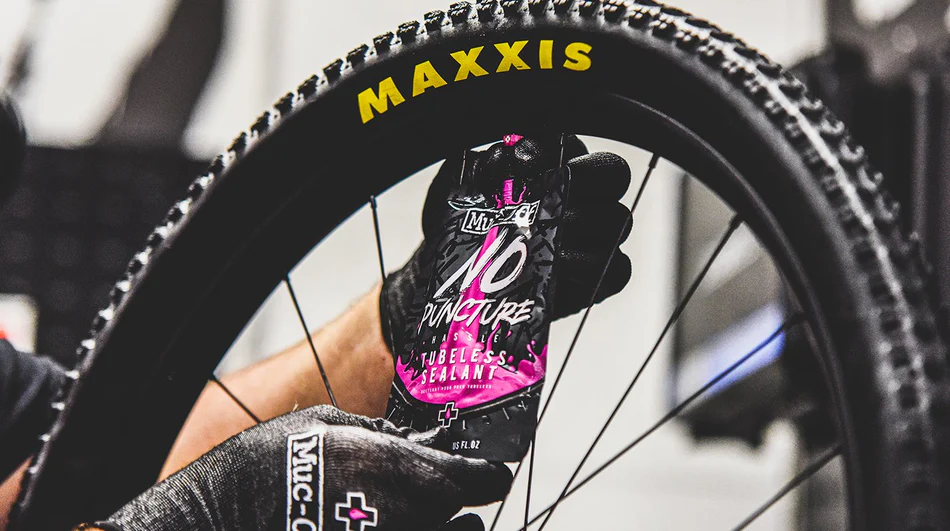
- Grab the sealant pouch and give it a shake
- Unscrew the cap and fit on the valve in an upright position
- While holding the pouch spin the wheel down so that the pouch is now upside down
- Insert the sealant by rolling the pouch down
- Spin wheel back upright and remove the pouch
- Reinsert valve core and inflate to your pressure
Our kit options:
- Road (21MM TAPE / 44MM VALVES)
- Road (21MM TAPE / 60MM VALVES)
- XC/Gravel (25MM TAPE / 44MM VALVES)
- DH/Trail/Enduro (30MM TAPE / 44MM VALVES)
- DH/PLUS (25MM TAPE / 44MM VALVES)
What's included:
- 1x 10m roll of Tubeless Rim Tape
- 2x Seal Patches
- 2x Black Tubeless Valves
- 2x Valve caps
- 2x Locking nuts
- 1x Valve core removal tool (doubles as a spare valve cap)
- 3 x Pairs of rubber bases for size choice
- 2x Pouches of No Puncture Hassle Tubeless Sealant
View More